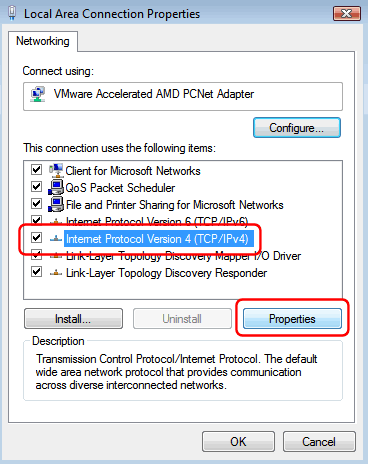
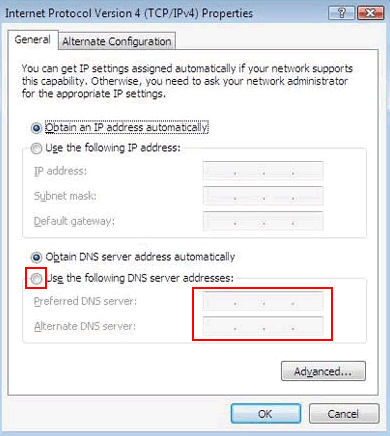
Okay, today I found some interesting numbers. They are Malaysian DNS servers numbers. Guess what? I never know the first three numbers. Ha ha! I tried it and I think there are not much different (from speed browsing perspective) from 202.188.0.133 I've been using before.
So, what is DNS you may ask?
I'm not going to simplify things for you because it is already simplified. Read on, this might give you a headache if you are not a 'techie' person but believe me, this info is priceless.
So, here goes. I'll start with the answer to the question above.
Domain Name System (DNS) is a database system that translates a computer's fully qualified domain name into an IP address.
 IP addresses is used by computers to connect to each other but it can be difficult for people to remember. For example, we can easily remember
A computer network like Streamyx will have at least one server handling DNS queries. That server, called a name server, will hold a list of all the IP addresses of computers on the internet. If the name server do not have the IP address of the corresponding computer, you will get an error message.
Within most Internet applications, you will not see and will not have to remember the IP address of the computer to which you're connecting. Thanks to the name server a.k.a DNS server.
Hmm, still reading? Now I'll reward you with the Malaysia DNS server list. Well what about other countries? May be next time. (if there are any request to post it here).
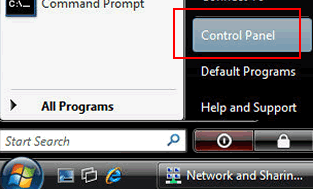
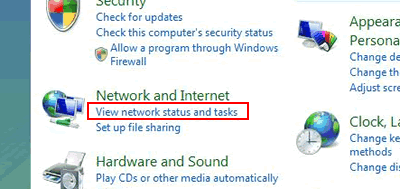
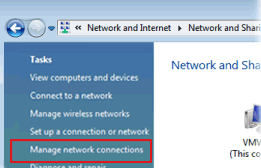
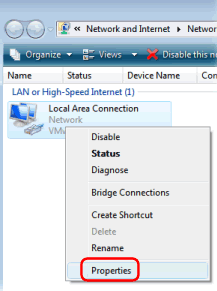
But wait, how to add these to ubuntu? Fortunately, yo can check here. It is on my other post.
Malaysia DNS Server List
69.111.95.106
206.196.151.153
69.111.95.107
Schoolnet (ADSL)
202.75.44.18
203.106.3.171
202.75.44.20
69.111.95.106
206.196.151.153
69.111.95.107
Tmnet Streamyx (ADSL)
202.188.0.132
202.188.0.133
202.188.0.147
202.188.0.161
202.188.0.181
202.188.0.182
202.188.1.4
202.188.1.5
202.188.1.23
202.188.1.25
69.111.95.106
206.196.151.153
Tips :
If you are having sites blocked by our DNS servers, you can bypass the blocking just by change your default DNS to Free Public DNS Server such as OPENDNS or GOOGLE DNS.
So, what is DNS you may ask?
I'm not going to simplify things for you because it is already simplified. Read on, this might give you a headache if you are not a 'techie' person but believe me, this info is priceless.
So, here goes. I'll start with the answer to the question above.
Domain Name System (DNS) is a database system that translates a computer's fully qualified domain name into an IP address.
 IP addresses is used by computers to connect to each other but it can be difficult for people to remember. For example, we can easily remember
www.amazon.com than its IP number : (207.171.166.48).A computer network like Streamyx will have at least one server handling DNS queries. That server, called a name server, will hold a list of all the IP addresses of computers on the internet. If the name server do not have the IP address of the corresponding computer, you will get an error message.
Within most Internet applications, you will not see and will not have to remember the IP address of the computer to which you're connecting. Thanks to the name server a.k.a DNS server.
Hmm, still reading? Now I'll reward you with the Malaysia DNS server list. Well what about other countries? May be next time. (if there are any request to post it here).
But wait, how to add these to ubuntu? Fortunately, yo can check here. It is on my other post.
Malaysia DNS Server List
69.111.95.106
206.196.151.153
69.111.95.107
Schoolnet (ADSL)
202.75.44.18
203.106.3.171
202.75.44.20
69.111.95.106
206.196.151.153
69.111.95.107
Tmnet Streamyx (ADSL)
202.188.0.132
202.188.0.133
202.188.0.147
202.188.0.161
202.188.0.181
202.188.0.182
202.188.1.4
202.188.1.5
202.188.1.23
202.188.1.25
69.111.95.106
206.196.151.153
Tips :
If you are having sites blocked by our DNS servers, you can bypass the blocking just by change your default DNS to Free Public DNS Server such as OPENDNS or GOOGLE DNS.
Free Public DNS Server
Service provider: Google
8.8.8.8
8.8.4.4
Service provider: ScrubIt
Public dns server address:
67.138.54.100
207.225.209.66
Service provider:dnsadvantage
Dnsadvantage free dns server list:
156.154.70.1
156.154.71.1
Service provider:OpenDNS
OpenDNS free dns server list:
208.67.222.222
208.67.220.220


